Cantemo Panel for Premiere Pro
Bring the best of Cantemo directly into Premiere Pro.
Cantemo Search
Cantemo Media Bin
Import from Cantemo to Premiere Pro
Render and Export to Cantemo
Enrich Media with Metadata
Proxy Workflow
Installation
The Cantemo Premiere Pro integration consists of two parts.
The Cantemo Agent allows bi-directional communication between Cantemo and Premiere Pro.
Cantemo Panel for Premiere Pro is the best of Cantemo as a Premiere Pro panel.
Cantemo Agent and Cantemo are required for the Cantemo Premiere Pro integration to work properly.
If you have not already installed Cantemo Agent, follow the guide: Install and configure the Cantemo Agent.
Requirements
The Cantemo Panel for Premiere Pro is compatible with both MacOS and Windows.
Premiere Pro 2024 or later
Adobe Media Encoder
- Shared, mountable storage between Cantemo and your workstation.
Contact your administrator for assistance setting up your storage.
- Fast internet connection
For long form content (over 10 minutes), we recommend having at least Gigabit connectivity to Cantemo.
For system requirements, see Adobe’s documentation for your version of Premiere Pro.
Download
The installer for Cantemo Panel for Premiere Pro can be found on Cantemo by using the Help menu, and selecting Downloads.
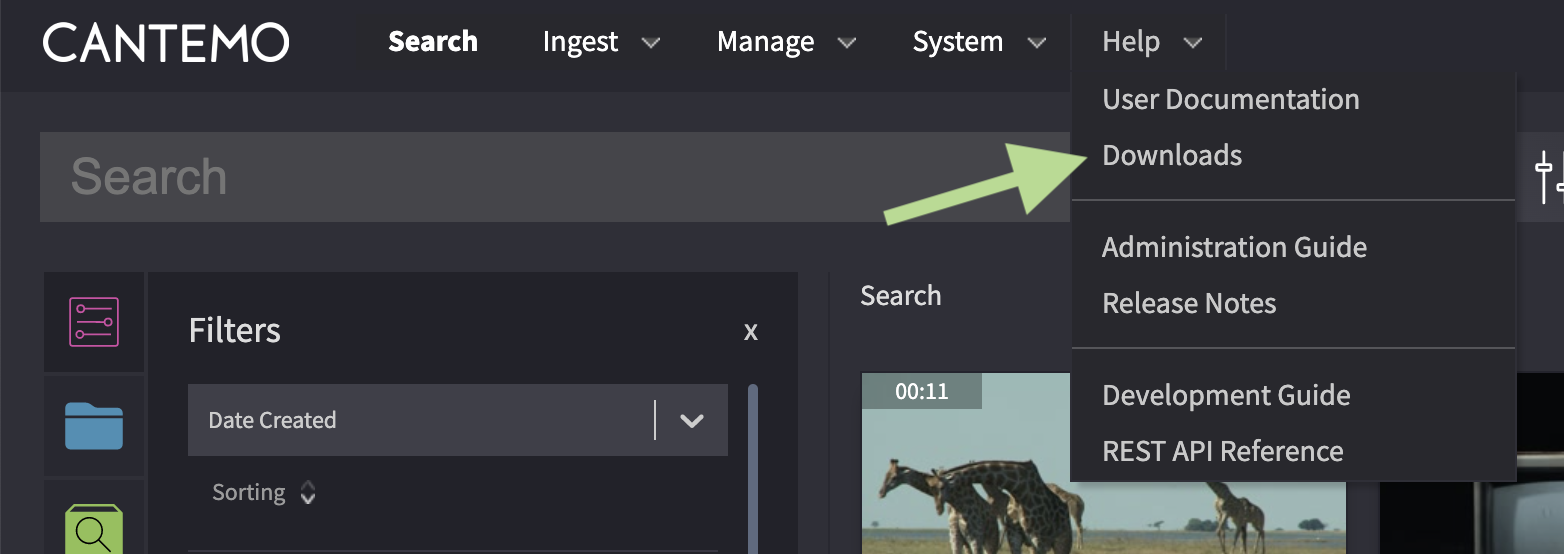
There are two links for Cantemo Panel for Premiere. Select the one for your operating system.
Run the installer.
Setup
Storage
For Cantemo Panel for Premiere Pro to work properly you need to be able to mount Cantemo storage to your local workstation. Instructions on how to do this are outside the scope of this documentation. Reach out to your system administrator for assistance.
Adobe Media Encoder
Adobe Media Encoder provides some files that Cantemo Panel for Premiere Pro relies on.
To install these files, first ensure Premiere Pro is closed. Open Adobe Media Encoder. This will download the required files.
You can now close the Adobe Media Encoder.
When you Render and Export from Cantemo Panel for Premiere Pro you will now see the different profiles in the export section.
Notes
Known issues
Please read the release notes that came with this version of Cantemo for any known issues.
Sometimes the panel shows up white when starting Premiere Pro. Please close and then reopen the panel.
Using Cantemo Panel
Opening the panel
The Cantemo Panel for Premiere Pro requires a project to be open. Start a new Premiere Pro project, or open an existing one.
The panel can now be opened from Window>Extension>Cantemo.
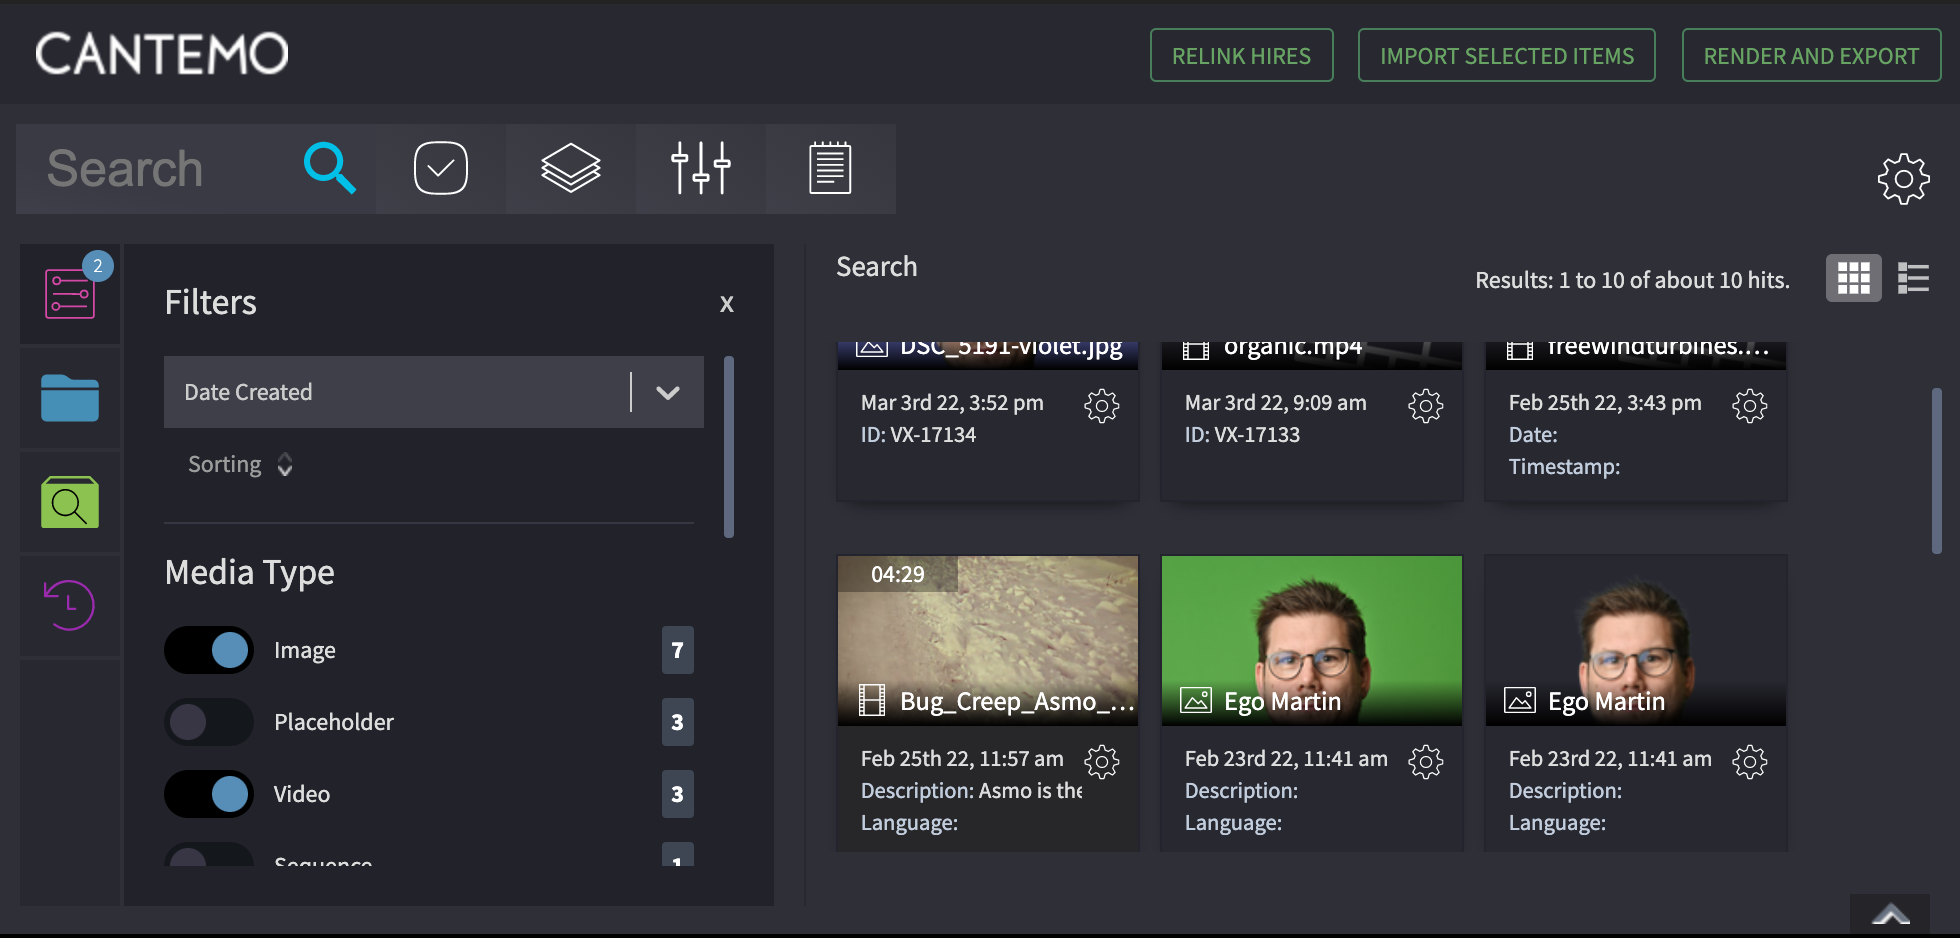
The Cantemo Panel in place in Premiere Pro
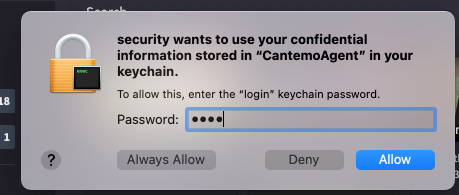
When opening Cantemo Panel for Premiere Pro on MacOS, you will be prompted to supply your password for your MacOS KeyChain. You may be asked twice. It is recommend that you select always allow, otherwise you may be prompted for your password often.
It can then be used like any other panel in Premiere Pro. For example it can be docked to other panels or left floating on its own.
For the most comfortable experience we recommended the panel to be least 500px wide.
When working with Cantemo Panel for Premiere Pro, it will make changes to your project on your behalf; For example importing media into your project.
Searching
See Searching in Cantemo.
Relink Hires
Cantemo Panel for Premiere Pro allows you to import media into your project that is archived or offline as long as there are proxy files available. You can then begin your cut using the proxy files. When the original hires format of the media are restored, or back online, you can relink to the original highres files.
To do so, simply select the “Relink Highres” button. If there are any original highres files that can be relinked, Cantemo Panel will find and relink them.
Note
If there are no originals to relink, nothing will happen. You can continue your edit with proxies until the originals are available, and you can try to relink again.
Import Selected Items
After selecting items from search you can import them into your project by using the “Import Selected Items” button.
Alternatively, you can use the item cogwheel to “Open in Premiere”.
Render and Export
With Cantemo Panel for Premiere Pro you can upload your current project, or render and upload your latest cut to Cantemo.
Pressing the “Render and Export” button will bring up the Render and Export dialog.

Users can render and export the timeline to Cantemo.
Preset - Select a codec to use when rendering. These options come from Premiere Pro and Adobe Media Encoder.
Filename - Filename for the render. The file extension will be automatically added based upon your “Preset” selection.
Note
If you can’t find a suitable preset you can create a new one in Adobe Media Encoder.
When you are ready to export click “Render and Export”. This will then send the job to Adobe Media Encoder, with the output path being the Cantemo Agent watch folder.
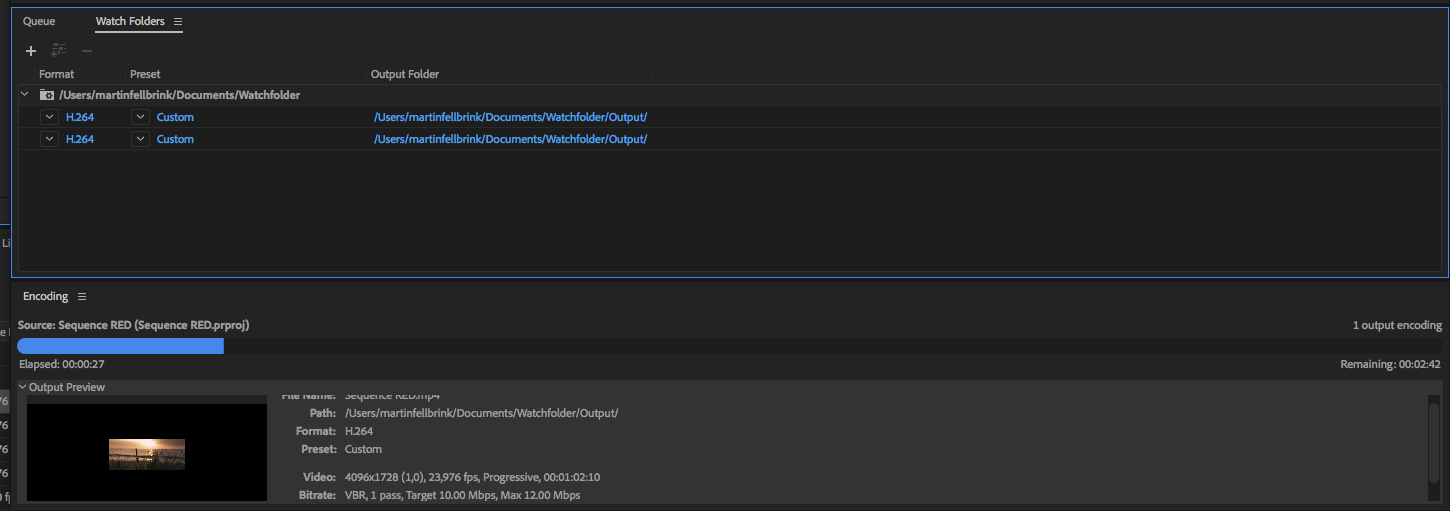
Exports are sent out of Adobe Media Encoder.
The job will be queued in Adobe Media Encoder. Click the play button when you are ready to start encoding.
When encoding is finished, the files for the export will be sent to your configured watch folder. This will trigger Cantemo Agent to open the “File Upload window”.
Follow the instructions for Cantemo Agent File Uploads to complete the upload.
Opening Items from Cantemo
From Cantemo you can open items with Premiere Pro.
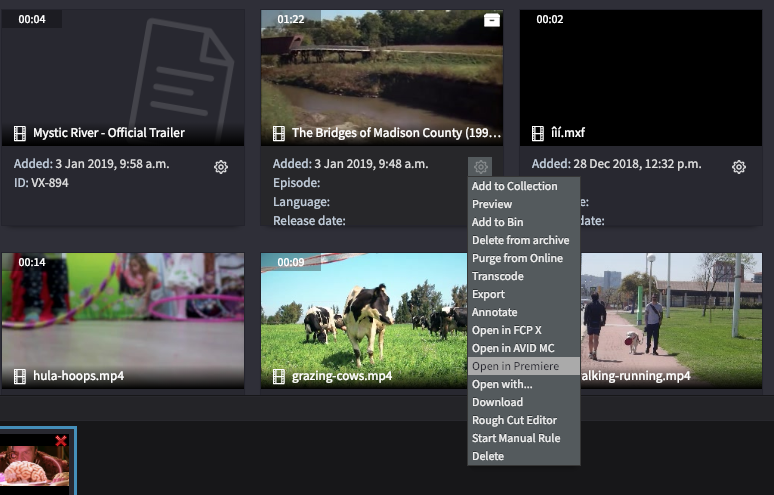
Opening items from Cantemo with Premiere Pro.
If using this feature please make sure that you have:
Cantemo Agent is running.
Premiere Pro is running and the project you want to add the item to is open.
That the associated storage is mounted on your workstation.
To open an item in Premiere, select the item you want to open using the item checkbox, then click the More button (…) in the action bar to open the More menu and select “Open Item in Premiere”.
Media Tracking
When exporting a render, or a project to Cantemo, we do automatic media tracking. All items used to create the render and or sequence will be reported to Cantemo.
In Cantemo, your sequence or render will have all the items used to create it in the Related tab of the item page.
You can upload media that is not ready imported into Cantemo, reconnect media that is in Cantemo but has been downloaded outside of the Panel and then reconnect this so that it doesn’t have to be uploaded again. Once uploaded a reference from the source material to this project file is made within Cantemo. This will also shown under the related items section.
Project Export
Use the project panel to upload the project file directly to Cantemo. This will get imported as an item and then can be opened again.
When a project is opened again you can either upload a new version to the same item, or create a new item. This is done in the Cantemo Agent.
